 HDR Image from One Photo in Photoshop: Last month we learned how to create a High Dynamic Range Image (HDR) from three different exposures ranging from light to dark, this tutorial will bring us through the steps in creating the HDR look from a single image in Photoshop, it takes just a few minutes to complete. Lets get started!
[sociallocker]
Resource:
Homeless Portraiture by Stock.xchng
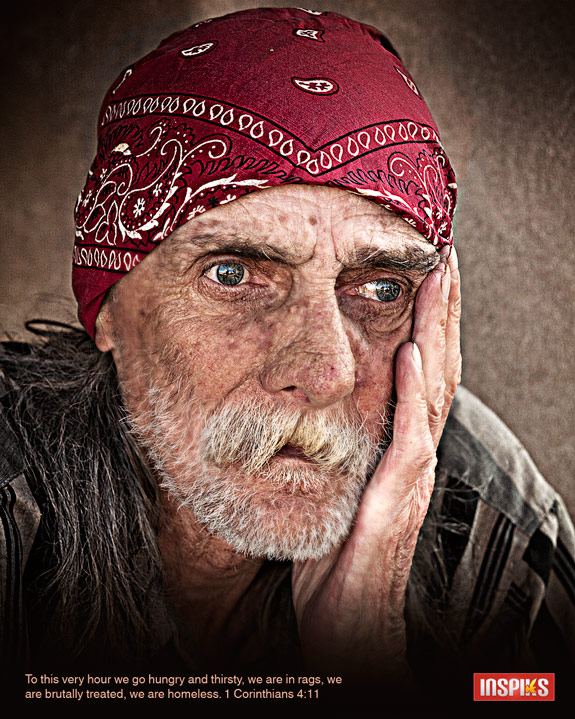
Final Image
Step 1
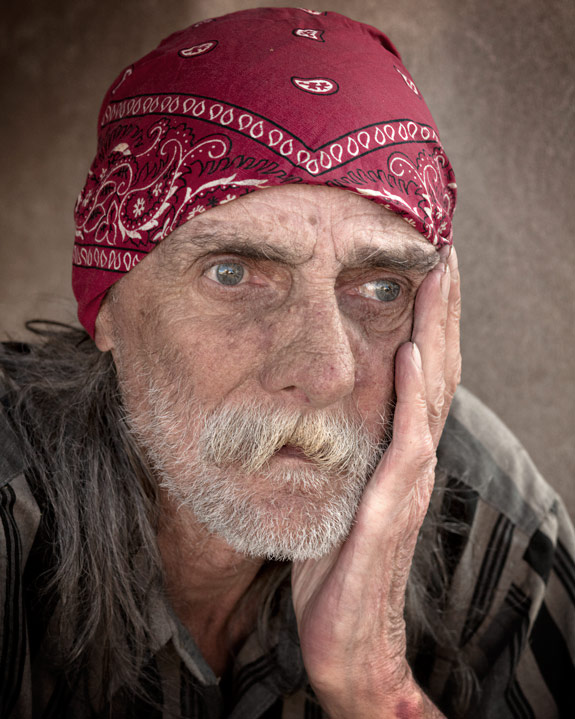
You should start out with a high quality photo that has good lighting and obvious highlights. I choose the following photo because it has a lot of details I wanted to bring out in the face.

Step 2
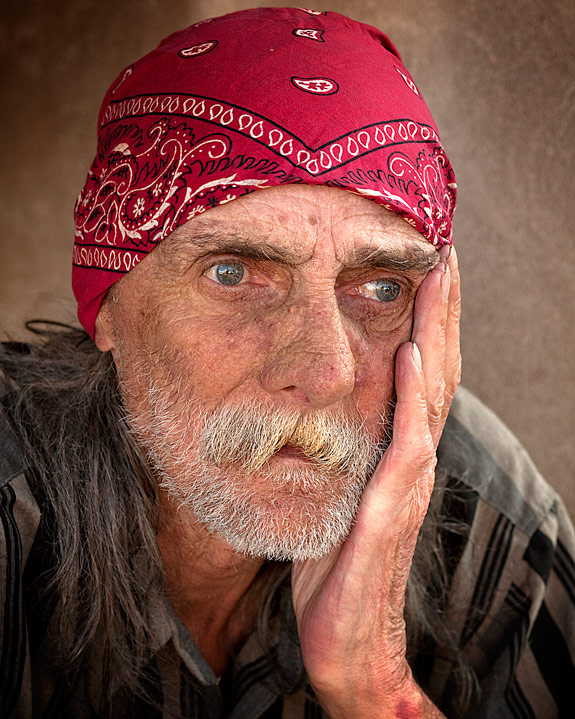
Open the Homeless Portraiture by Stock.sxchng. Make sure the levels and colors are fixed on the original before you start. Duplicate the Layer, then go Filter > Other > High Pass.
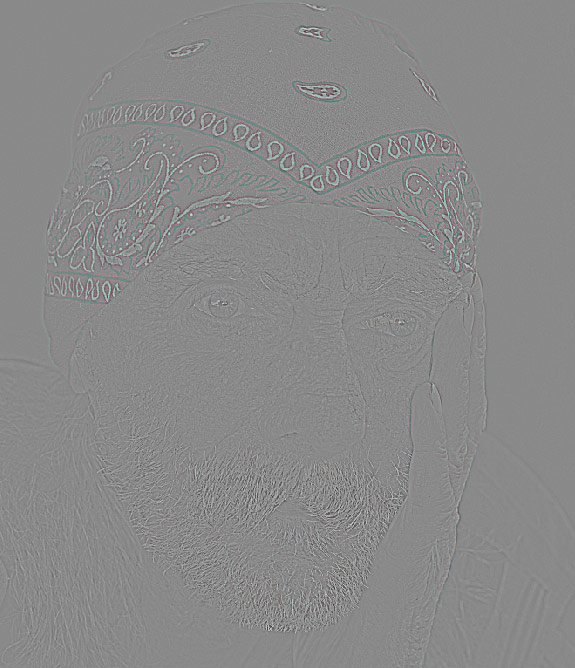
Set the Radius to 4.0 and then set the Blending Mode to Vivid Light.
[sam id=3 codes=’false’]
Step 3
Flatten the image, then duplicate the layer. go Filter > Other > High Pass.
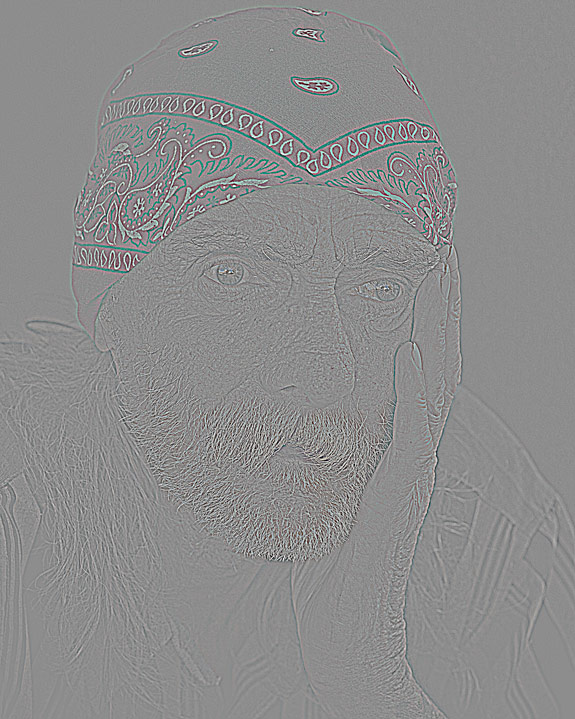
Set the Radius to 6.9 and then set the Blending Mode to Color and the Opacity to 40%
Step 4
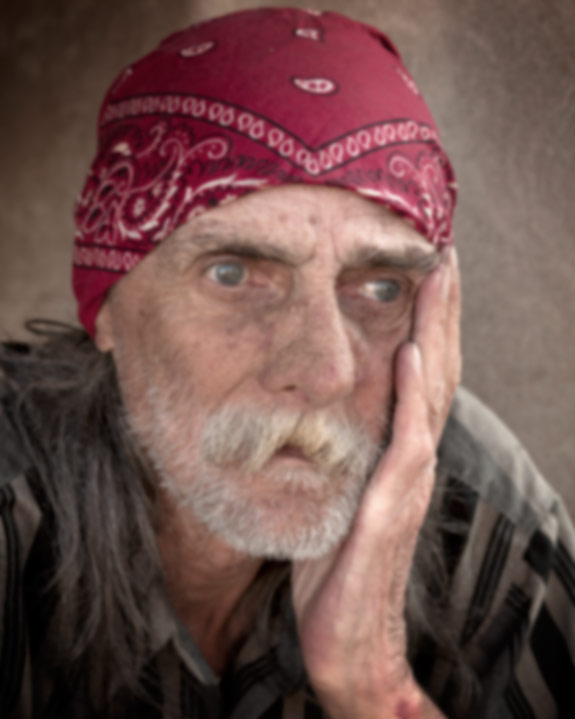
Flatten the image, then duplicate the layer. Add a Gaussian Blur. Filter > Blur > Gaussian Blur. Set the pixels to 9.4
Step 5
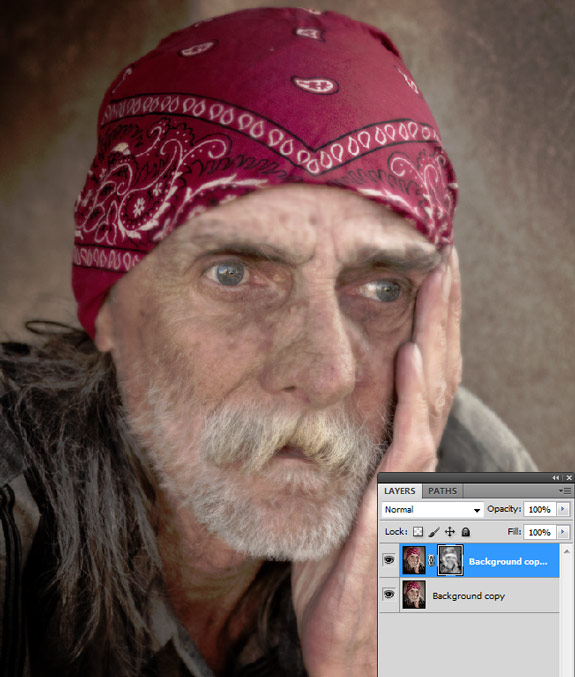
Add some noise to the image. Filter > Noise > Add Noise, set the amount to 3%. Now add a mask to the layer. From the top menu, select Layer > Layer Mask > Hide All. Set the foreground color to white and background color to black, then use a soft brush at 30% opacity and start brushing over the entire image, except the eyes.
Step 6
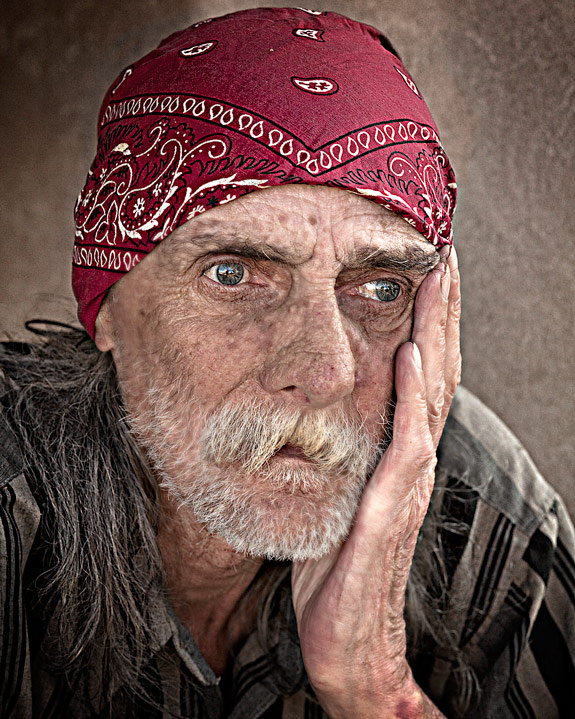
Flatten the image again, then go Filter > Sharpen > Unsharp Mask and use the following settings.
Amount: 100%
Radius: 20.00 (This value may be different , depending on how much detail you need)
Threshold: 0
[sam id=3 codes=’false’]
Step 7
Now add some curves to the image to bring out a little more details and highlights. Go Image > Adjustments > Curves.
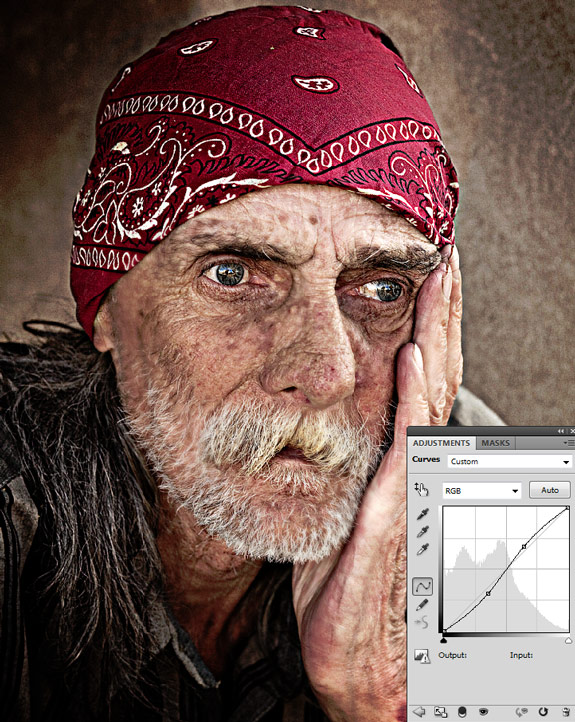
Final Image

Conclusion:
This type of image processing is great for bringing out extra details in your images. The technique can be taken to extremes by playing around with the radius settings in the High Pass Filter, but it can also lead to ghosting and other unwanted artifacts. Play around with different images, you may find the effect useful in some of your projects and most of all, have fun!
Scripture Inspiration:
“We are fools for Christ, but you are so wise in Christ! We are weak, but you are strong! You are honored, we are dishonored! To this very hour we go hungry and thirsty, we are in rags, we are brutally treated, we are homeless. We work hard with our own hands. When we are cursed, we bless; when we are persecuted, we endure it;” 1 Corinthians 4:10-12
[/sociallocker]


12 thoughts on “Create a Pseudo HDR Image from One Photo in Photoshop”
Couldn’t get the Layer>Layer Mask>Hide All effect to work, so that stopped me from finishing the tutorial. I would appreciate any assistance in figuring this problem out.
SÃœPER,SÃœPER,SÃœPER!!!!
Came out pretty neat. I also have been working with using three copies of the same image and setting one darker (shadows) one normal and the last focused on the highlights. Then use the opacity and adjust till the details come out. Then I go to the channels of the layers and use ‘sharpen mask’ on the RGB one at a time. I like yours for using the high pass is a great (and not used much) tool. Cheers!
Nice tut. You can get a good HDR result. I had a good time mixing my photos:) Thanks!
Great work and a very different approach to the pseudo-HDR technique. Most of them make use of Curves and Levels to re-create what would be the over and under-exposed frames in a “true-HDR” process … and again, this is a totally different approach, but the result is very good!
Thanks for all the kind comments, great to know that you are all enjoying the tuts.
Great work, thank you very much!
Very nice – you do some good work, this is fast results.
This is exactly what I was looking for! Simple and easy to follow! thanks!
This was real cool!!! Thanks!
You are welcome, glad you found it useful 🙂
Great! Thank you very much!